
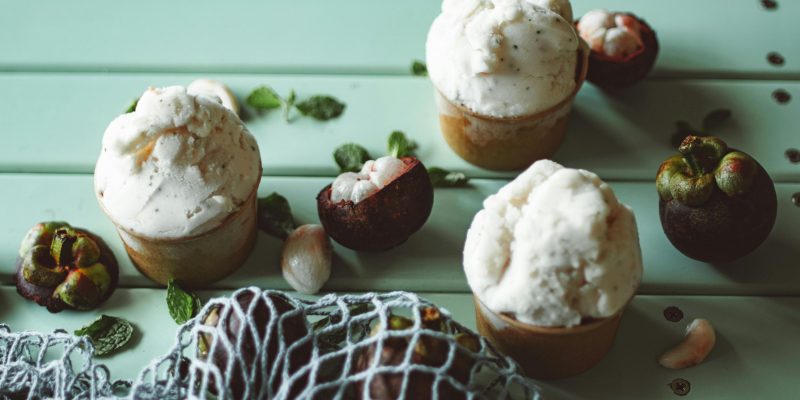
There is just something about a homemade vanilla ice cream recipe that combines nostalgia with enjoyment for a simple, lovely, and delicious treat to share at any get-together! This guide gives clear and easy directions for making this classic dessert from the comfort of your home. It took nothing more than a few ingredients and a little patience to produce a homemade creamy, flavorful, and decadent ice cream that competes, and potentially beats, a shop-bought tub.
The Essentials:
Gather Ingredients First Before Starting. Here are the basic components: heavy cream, whole milk, sugar, vanilla extract, and a touch of salt. Such ingredients are the building blocks of the ice cream and lend the vehicle a smooth and copious texture.
Equipment Needed:
Here are a few tools needed to make homemade ice cream. First things first: an ice cream maker is the best thing for churning, but not the only option. That even a hand mixer or whisk can do if an ice cream maker is unavailable. You’ll also need a mixing bowl, some measuring cups, and a spatula.
Preparation Steps
Mixing the Base:
- Start by adding the heavy cream, whole milk and sugar into a mixing bowl.
- Stir until the sugar completely dissolves.
- This process means that the ice cream will be evenly sweet throughout.
Adding Flavour:
- In the next step, you can add your vanilla and a pinch of salt.
- The salt two rows underneath it cuts through the sweetness, complements the vanilla, a primary flavour. Stir gently to mix them together.
Chilling the Mixture:
- Refrigerate the mixture for a minimum of 1 hour.
- If you put it in the freezer to chill for a bit, you help all the flavours meld together, and it will freeze more evenly later.
- Churning a colder mix also helps to churn better and create a creamier texture.
Churning the Ice Cream:
- When the mixture is well chilled, it’s time to churn.
- If using an ice cream maker, simply pour the mixture into the machine and follow the machine instructions.
- If you do not own a machine, pour the mixture into a shallow dish and put it into the freezer.
- For 30 minutes, mix things up with a whisk or hand mixer every 30 minutes. Continue this until your ice cream is the desired consistency.
Storing and Serving:
- Once churned, transfer the ice cream to an airtight container.
- Place it in the freezer for a few hours until firm before serving. It is the last step to make sure that the ice cream has a form when you serve it.
- To serve, allow the ice cream to sit at room temperature for a few minutes.
- This brief wait allows the scoops to go down more easily and the flavours to bloom.
Tips for Success
- Good Quality Ingredients: Good quality vanilla extract and fresh cream gives better flavor. The result will taste better with better ingredients.
- Texture: This is a purer, more consistent texture if you wait for the sugar to dissolve completely before cooling. If any granules remain undissolved, it will reduce the creaminess.
- Experiment: If you’re in the kitchen, make it your own. You could even swap in chocolate chips, crushed cookies, or fresh fruit for something special.
Troubleshooting Common Issues:
- Ice crystals, which can form if there wasn’t enough churning in the final stage of making (or mixing in a store-bought version).
- Keeping the mixture cold before going into the freezer will help avoid that issue.
- Too soft – If the ice cream is too soft, it may need more churning or a longer freeze. Make sure to have the right pool to check freezer temperature.
Conclusion
Homemade vanilla ice cream goes hand in hand with an insulated freezer bowl — get the recipe below for a decadent treat. Although it sounds like making this classic dessert can be a little intimidating, with this guide, it is an easy and fun process. Served for afternoon tea on a warm sunny day or as a decadent surprise for your little ones, this ice cream will be a hit! With these steps and some creativity, anybody could make a yummy dessert that covers all tastes.


Comments